Showing posts with label Hack. Show all posts

Sunday, October 30, 2016

How to clean a pack n' play.

Hello all,
 A lot has changed since I've last posted. I am now expecting my third child. A miracle in itself. And I've had a major life change happen.

Anyway upon finding out I was pregnant I realized that I no longer had any actual baby items. I got rid of everything. As in we thought we were done having children and there wasn't going to be another. Did I mention my kids outside of the womb are ages 10 and 8? So not only do I not have any baby stuff but it's been gone for years!

So I found myself in the position of needing to obtain the basics. Luckily I have some amazing friends that helped out and procured a few of those items in our time of need. One of those items was donated to her through an online source. And I am really, really grateful for it. A received a small pack n' play. It was used but it good condition. Me being the germaphobe I am, I still have to clean it. Ha, ha, ha I also have OCD and I'm nesting so let the fun begin!

Step one. Brake pack n' play down. Remove pad and put in a bathtub. Fill halfway with hot water and add a capful of laundry detergent I used Oxyclean. Then add half a cup of white vinegar and a cup of baking soda powder. Let soak for half an hour.

After 30 minutes turn it over and agitate the water a bit. Like a washing machine would. I also used this time to take a brush and scrub any set in stains or stuck on grime. 


Water looked a bit grimey after that. (Then the cat fell in and I was forced to clean cat and bathroom. She's so talented...) Let stand for another 30 minutes then either use your shower or a garden hose and rinse away any further residue. Let drip dry for about 15-20 minutes if you use your shower. Then take it all outside and set up pack n' play and the mat to dry in the sun for about 2-3 hours. Make sure that the mat is on a flat surface to dry. Some of the boards in the pack n' plays are card board. So drying flat is a must. The sun will help dry the mats and remove any stink or stain that may have naturally occurred. 


All the stains have come out and I couldn't be happier. They were just light stains from use. Something that happens to everyone. Even if this had been used by my older boys or if it had sat in storage I would be doing the same thing.


This is the mat now stain free. Smells good. The sun can do amazing things for your laundry. I recommend it for more then just pack and plays. It takes the funk smell out of washed bathroom rugs to. But that's a post for a different time. Hope all enjoy this post. It's something I never thought of with my other kids I would have thrown a sheet over it back then. Times have changed. 

Thursday, June 25, 2015

The Ranger Roll. Part one.

So my husband was in the Army. In basic training they are taught/re-taught how to fold clothes. ( I hear some mothers and wives out there singing "Hallelujah!") Shirts can't be more then a dollars length long. Everything has to be rolled and put away. Uniforms are often the exception and can be hung up ... blah blah army reg's speech blah... Anyway my husband brought the experience home. And it's one thing I can say that I can do BETTER then he can!
*Que the 5 year old in me as I say* "Nana, nana, boo,boo stick your head in doo,doo"


See the extra amount of space?!?! Ain't it amazing! That's a regular retail folded shirt on the left.
My apologies for the look of the suitcase my cat spilled coffee on it when unpacking awhile back.
Anyway, after many moves and trips I have got this style of folding down to a T. I can do t-shirts, tank tops, sport's bras, sleep pants/yoga pants, underwear and socks. In this blog (it's a two parter) I will show you how to do shirts, tanks and sports bra's. 

T-Shirt:
Take a regular t-shirt and lay it flat on it's back.


 Next, fold the shirt about two to three inches up back under the shirt.


 Fold at the collar of the shirt over. Keeping sure the bottom stays intact.
I can add a long sleeve tutorial for this as well.


 Next fold the opposite side directly over the old fold. If the sleeves fold over just fold them back into the shirt so you have this long skinny line. The bottom part will create a pocket in the back as you fold it.


Flip the shirt to where the neckline is now facing you and the bottom is now the top. Make sure said pocket is still on the back of the shirt. (when I'm watching T.V or get distracted by the million other things moms deal with on a daily basis I sometimes flip the shirt to the wrong side and have to start all over again.) Begin your roll from the new bottom on the shirt where the neck is. And roll up towards the folded fabric.


 Begin your roll and roll it all the way till you meet the other fabric and keep rolling mind the back pocket.


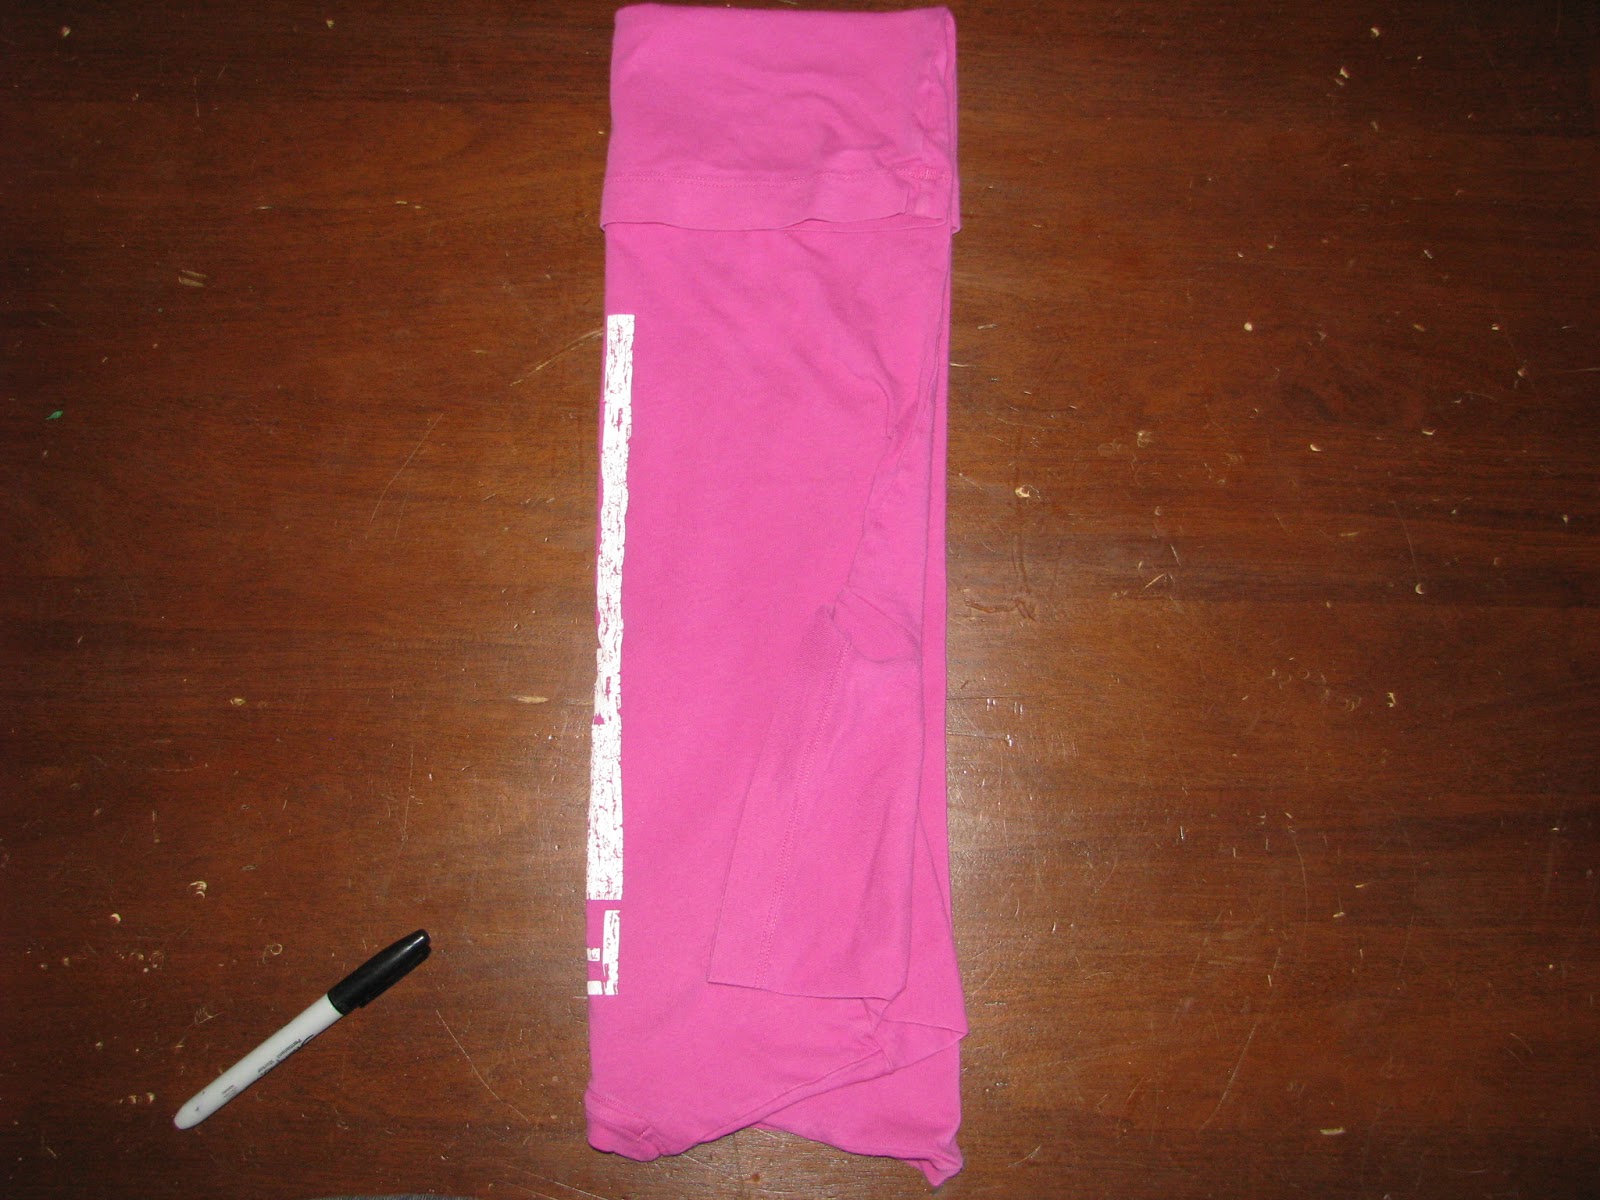
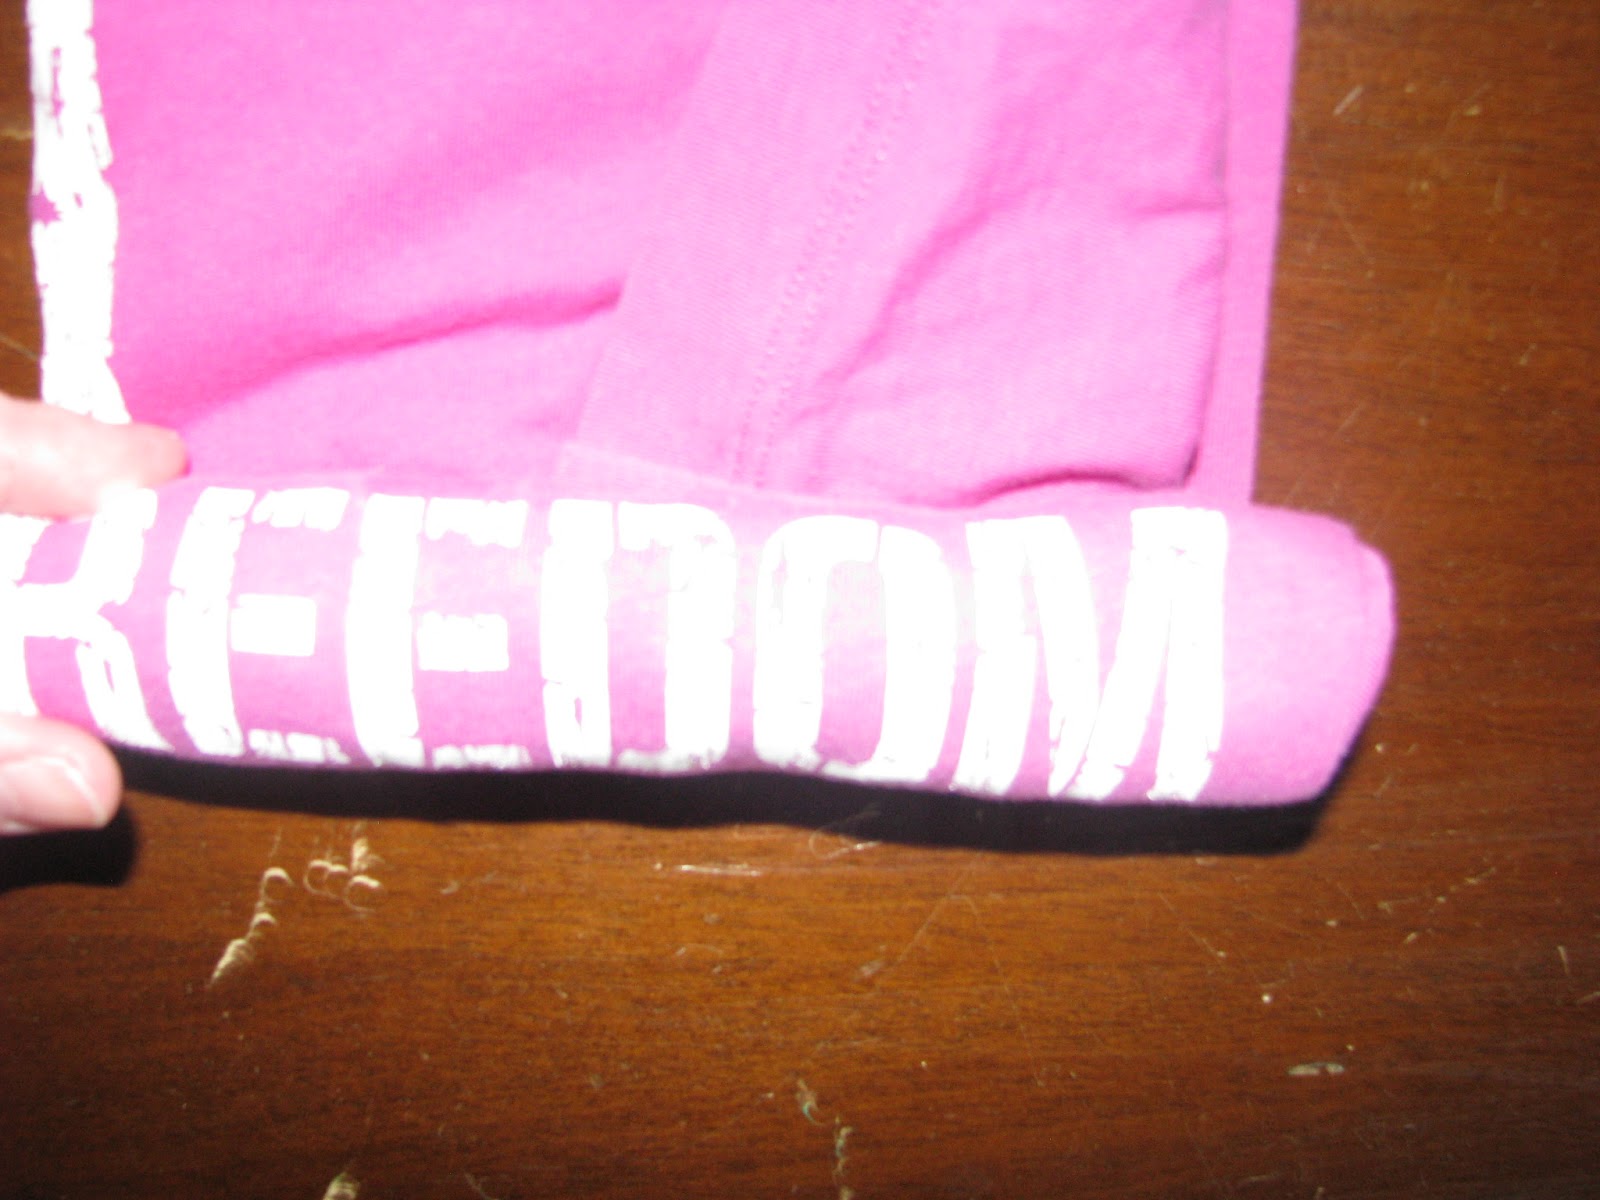
 Fold the pocket over the back of the shirt. Leaving you with a finished product like this.
Pull the pocket back over the shirt


 This little pill from works amazing when you need to pack a lot of stuff in a little bitty space.  In the army the sizes and standards are a tad bit different. I've fixed it to where it gets what I need out of it.


 The Tank Top / Spaghetti strap:
Pretty much the same thing. The only difference is the sleeves. Try and make it as flat as possible. I've noticed those shirts with the built in LIES I mean bra's can be hard to fold unless they are absent of padding.
Lay it flat on it's back and fold the bottom of the shirt up a finger length up.


 Next fold one side of the shirt over to the center. Then the other. Bunch the straps up at the top and begin to roll.


Fold it over again and remember to flip it.

Roll it up to the top again. And begin to pull the pocket back over the shirt.

 Sports Bras:
Same deal here. Sports bras are a tad bit trickier because there's less fabric to work with. But it can be done! I promise it can!


 Roll here but keep it tight and it will require both hands. But If you aren't careful you will pull the inside of the bottom up over the the fold and have to start over.


 So there you have it. My space saving tip that I never leave a for a vacation without doing. The best part is you can just about fit your entire closet into one bag. stacked up it little rolled pyramids. Stick around for a part 2 on pants, underwear & socks. There maybe a part three on organization.


 Coming soon part 2.


Sunday, April 26, 2015

Cleaning Copper Hack

How to clean copper
 If you have copper pans or are just a collector of pennies. I have a trick to make them look like new!


We've personally had these pans for ages. Family member through family member. Over the years I've learned a few tricks to bring the copper back to life. Granted if you looking to get the black burned on portions out I can't help with that... But taking the tarnish of I can.

Half and half
Here's what you'll need:
  • Table or sea salt
  • Apple cider vinegar / or white vinegar apple stinks but works best.
  • An old rag
  • Spray bottle (you don't have to have this one but it makes it easier.)

Lay down a towel and lay down the pan you are working on. This one is copper bottom so I just turned it over. Spray the bottom of the pan with the vinegar. And sprinkle on the salt. The chemical reaction will be noticeable right away. Then scrub hard rub the mixture all over the copper. And as you can see in the top picture the tarnish clears and the red copper comes back to life. Next wash the pan entirely with soap and water. The vinegar is not good to leave on for to long.

If you have a penny collector you can use the same trick.


I put the penny's in a bowl with salt and the vinegar and swished them around the bowl for about 15 minutes then rinsed. Didn't scrub them or anything. It brought all the color back to life and you could see the tarnish come out while dumping the water from the bowl. 

I do warn to use a well ventilated area. The whole process is a chemical reaction. Breathing in the fumes can harm those with asthma or lung issues.


Saturday, April 11, 2015

Scentsy/Candle wax hack.


Ever tried changing out a Scentsy warmer while the wax was still hot and got it all over the wall? I'm a klutz. Seriously I trip over flat surfaces and walls just seem to come out of no where. So it's no surprise that I would get wax somewhere.

A while back I had spilled wax on the white wall in our kitchen. I scraped the best I could to no avail. The red wax was there to stay. Till I thought about heat. I tried a hot wet cloth and that did a little but didn't take it all off. Next I though about a iron. There's no way I could fit it where I needed it to go. Next I thought about the hair dryer that just about caught my head on fire it was so hot. Got it out and went to work on the wax. Literally within mere seconds the wax started to melt and come off the wall. On the down side every time I'd wipe it it would freeze again and smudge down the wall. So I took a wet rag with some vinegar on it and followed the wax with the hair dryer. Slowly but surely it all came off. BAM! Back to new!


The next one was harder. I have two kids and two cats. One knocked a warmer over on the the floor and carpet. I had experience once before with dun, dun, dun, a candle! I know I'm so old fashioned. 

I don't have a picture with me but this worked pretty well. Take a paper bag, and an iron. Put the bag over the spot of wax on the floor and put the iron on it's highest setting. Once hot, iron over the spot under the bag on the floor. The Iron melts the wax and the paper bag soaks it up. Keep moving around and repeat as necessary till all the wax is gone. It's worked twice for me. Be careful to do it as quick as possible if it's a dark color wax or a soft stain will remain.